Lace Rosette Ribbon Tutorial
Always on the lookout for things to do with my buckets of vintage lace, I figured out how to make a Rosette Ribbon, and I thought I would share it with you!
You will need:
-Lace pieces
-Cotton fabric
-Perfect Pleater
-Spray Starch
-Embellishment for the center
-Sewing supplies (needle, thread, etc)
To start, we're going to do the base pleated rosette.
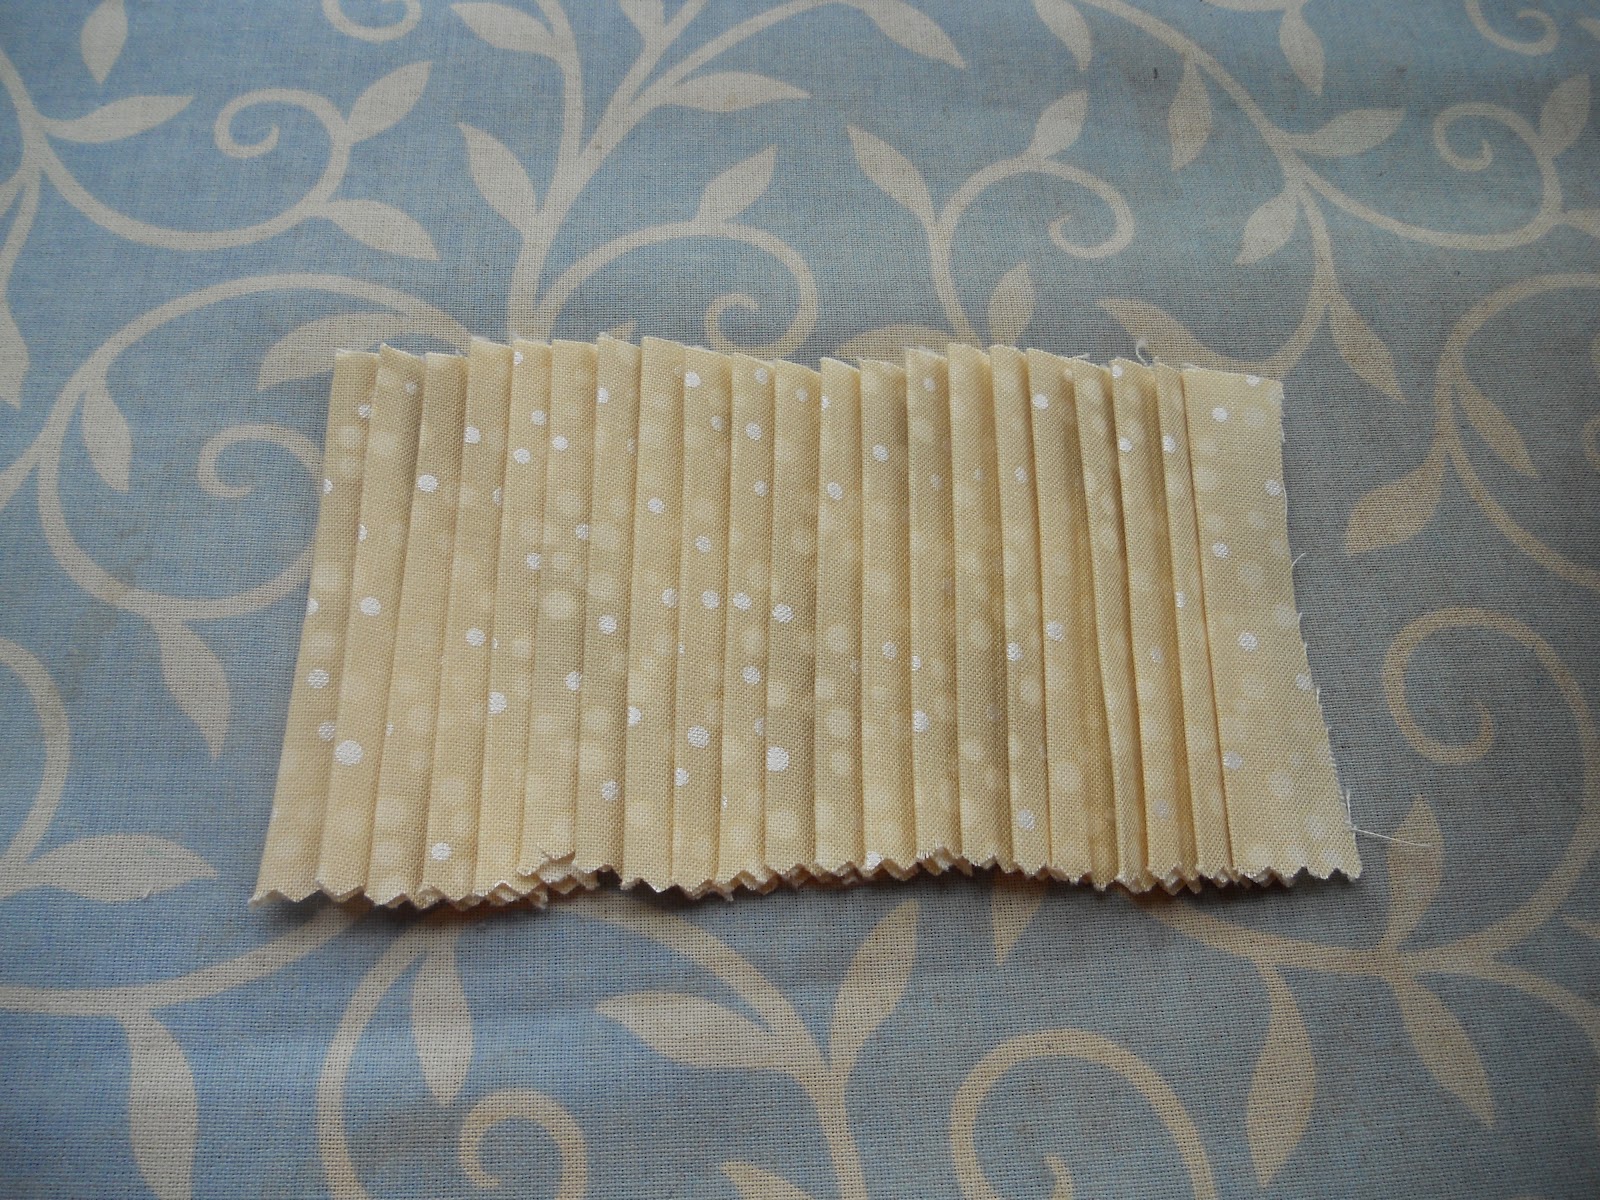
1. Cut a thin strip of fabric with pinking shears. The width of the fabric will be half the diameter of your rosette. We want a fat strip here because layers of lace will top this rosette.
2. Start pleating your fabric on every louver of the pleater. Tuck it inside nice and tight, and try to keep your fabric straight on the pleater (it's easy to get wonky).
3. When done pleating, give it a good spray of starch to wet it, and press it with your iron until dry.
4. Remove the fabric from the pleater, and manage your pleats into shape.
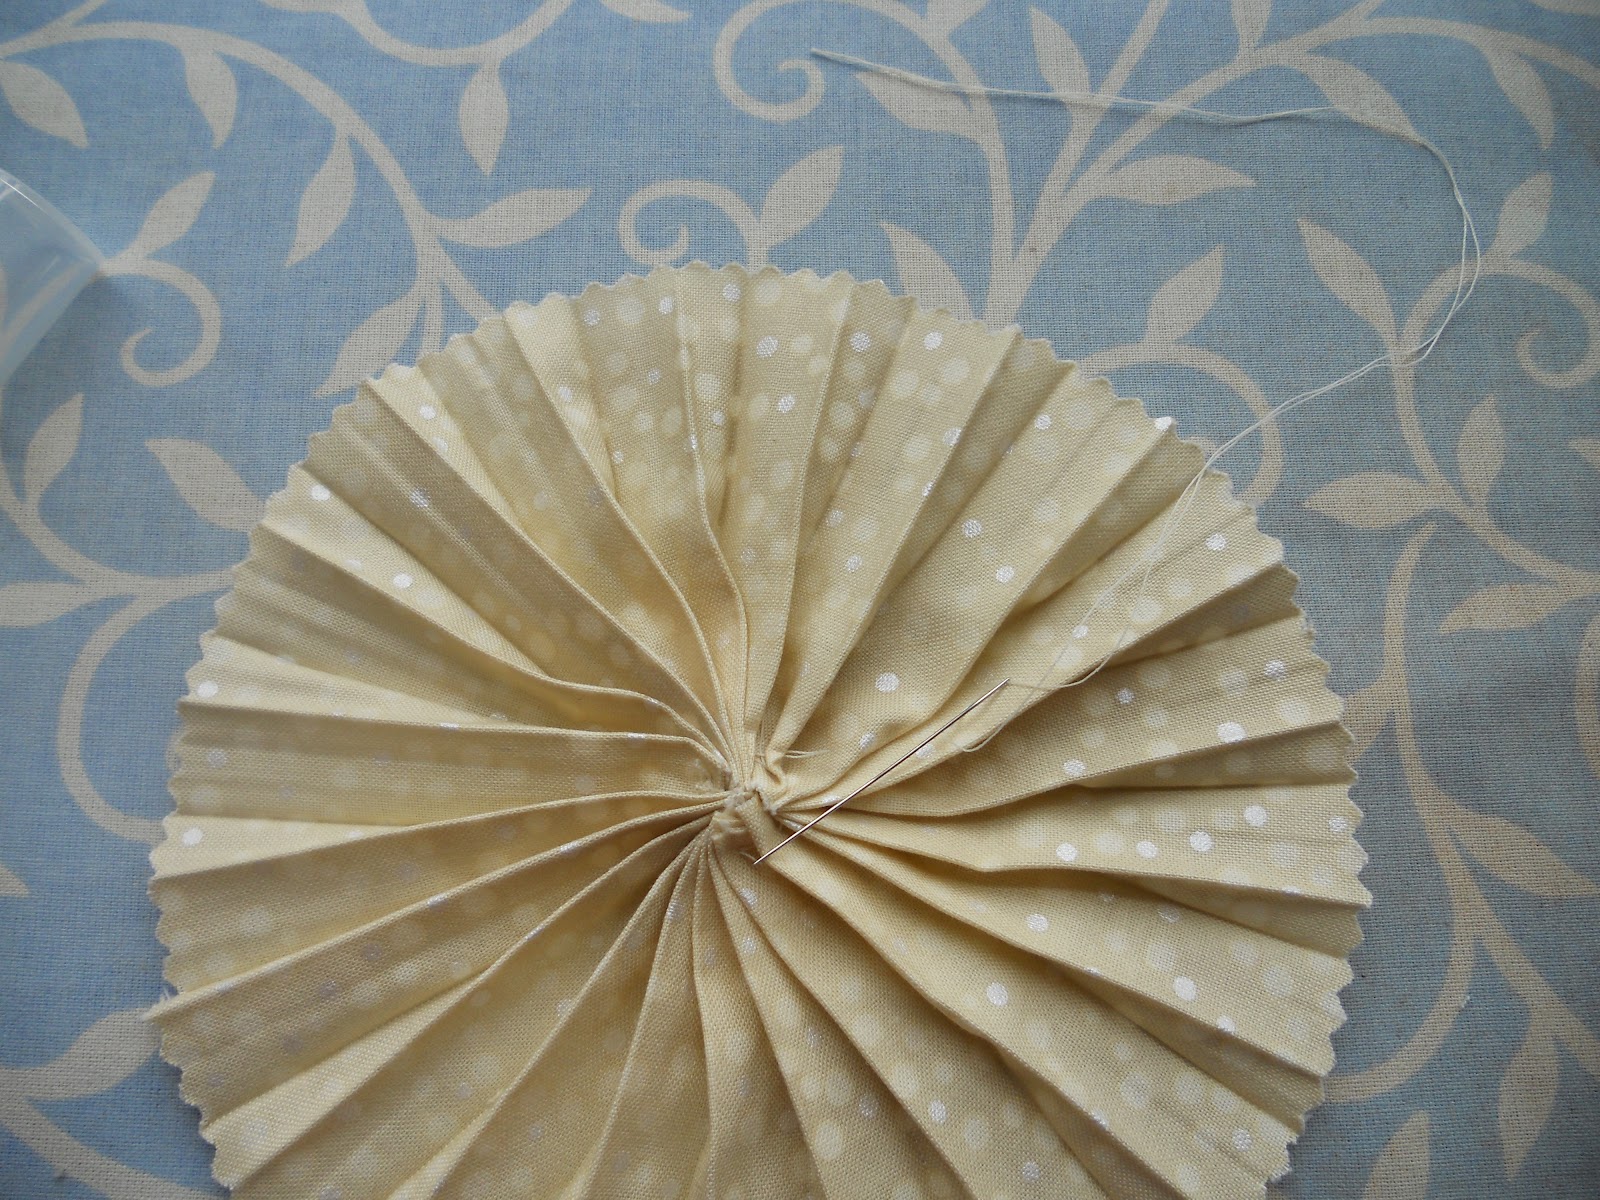
5. With right sides together, Make a running stitch (or use your machine) to form a loop out of your strip.
6. Push the fabric into a circle, keeping your pleats intact.
7.. With a needle and thread, pick up the fabric in stitches on the part of the fabric strip that will be the inside of the rosette. Pull tight to form a circle.
Now you can do the rest of your ribbon rosette!
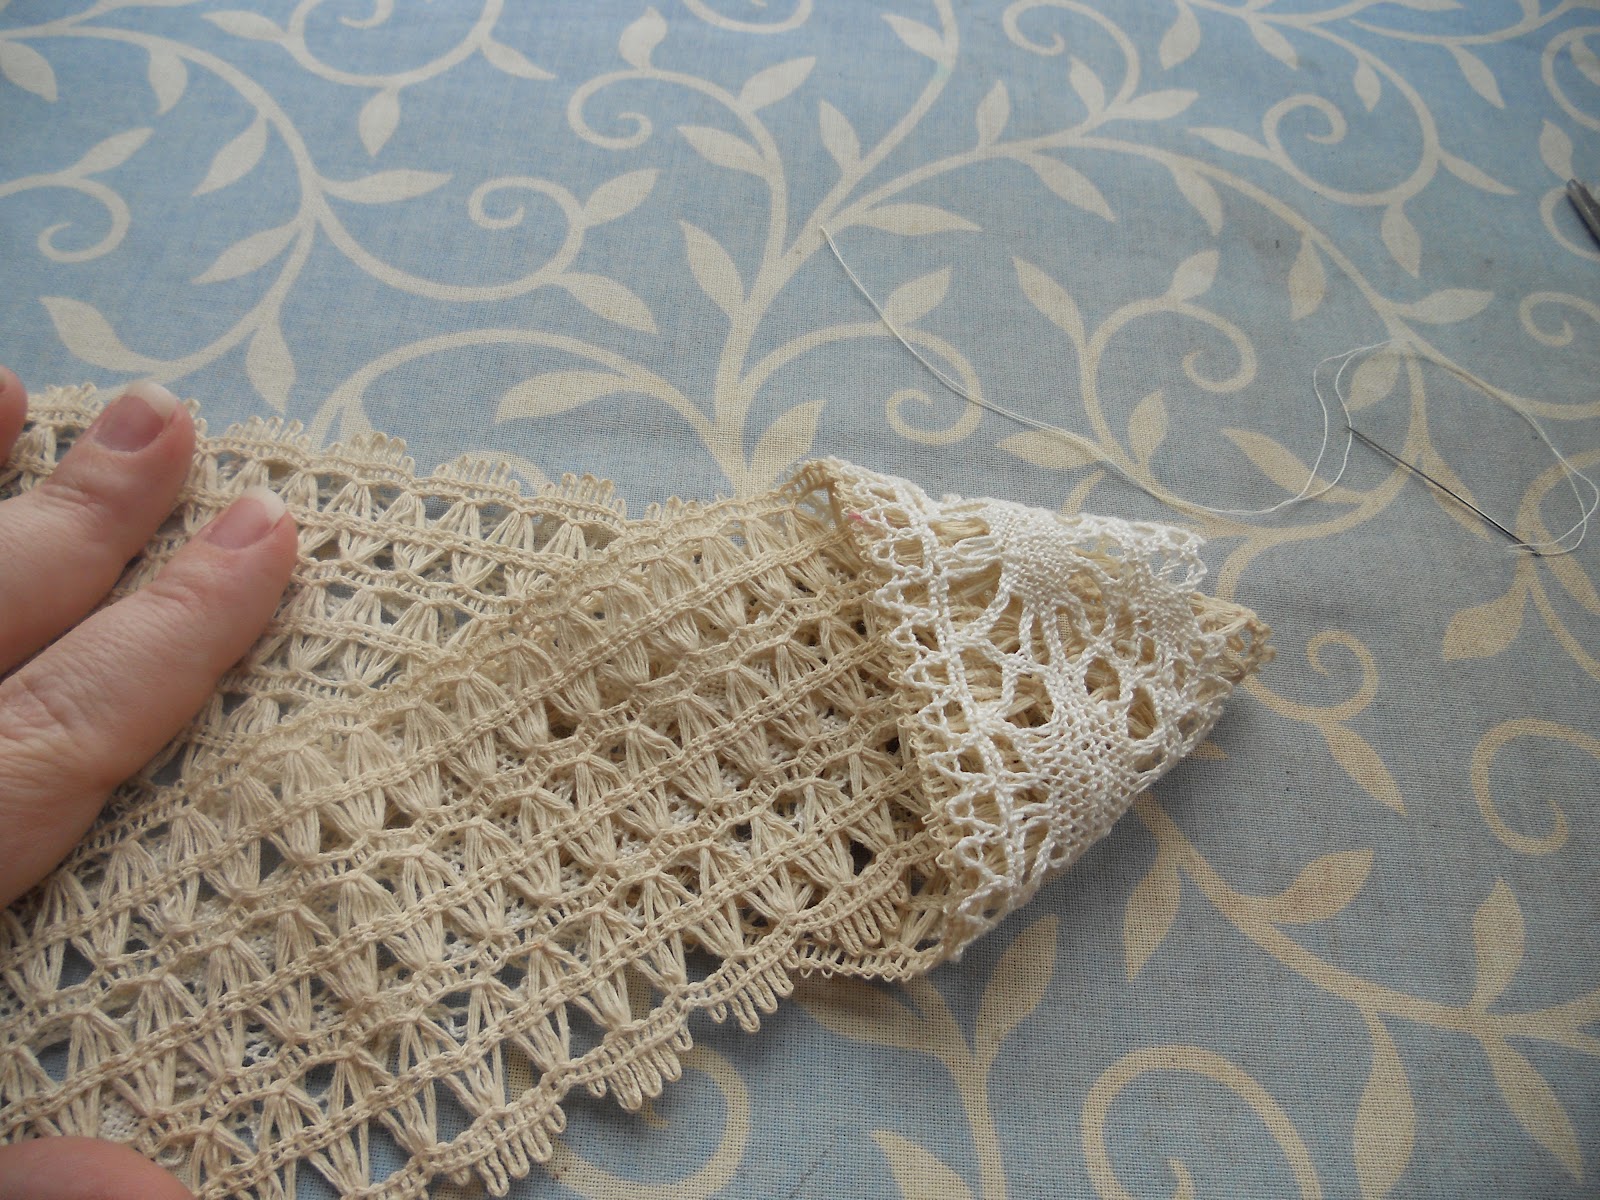
1. Taking a wide width of lace and a thinner one, lay one on top of the other, and then turn so both skinny layers are facing forward. This is a similar shape as the various "hope" ribbons. Sew this ribbon to the back of the fabric pleated rosette.
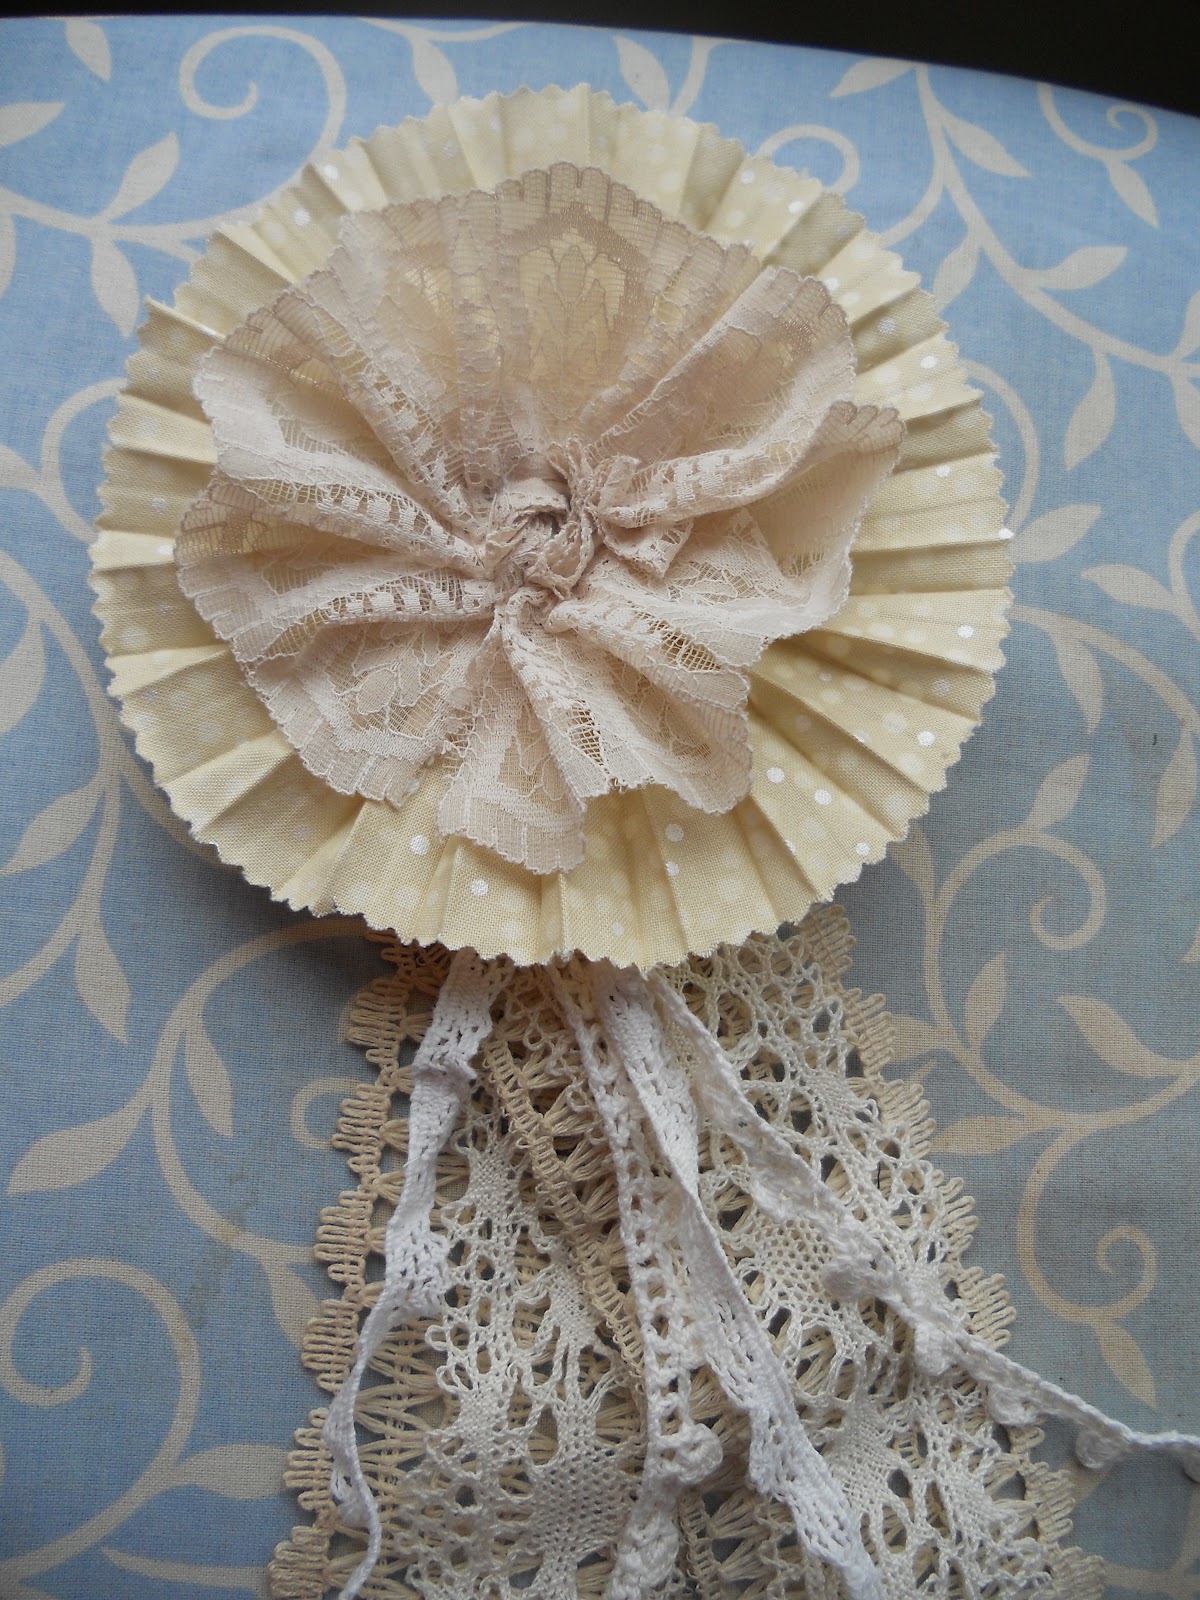
2. Ruffle up another piece of lace into a circle by picking up stitches in a running stitch along one edge, or finding a ribbon that is pre-ruffled. Tack this in the center of the pleated fabric rosette. I used more thin laces to create little tendrils hanging from the center of the rosette.
3. Lastly, you can use a Yo-yo, decorative button, or other embellishment to decorate the center of the ribbon. If you are using it as a prize ribbon, you could make a quilted center with "1st Place" or whatever you like in the middle.
Enjoy your ribbon!
Check back later this week for a chance to win a Perfect Pleater of your very own!!


2 comments:
Ooooh! I was going to ask about this perfect pleater. I remember doing a dresstop once that this would have made soooooo much easier!
love the idea to make flowers for my granddaughters head bands. and it looks so easy !!!
Post a Comment