Always on the lookout for things to do with my buckets of vintage lace, I figured out how to make a Rosette Ribbon, and I thought I would share it with you!
You will need:
-Lace pieces
-Cotton fabric
-Perfect Pleater
-Spray Starch
-Embellishment for the center
-Sewing supplies (needle, thread, etc)
To start, we're going to do the base pleated rosette.
1. Cut a thin strip of fabric with pinking shears. The width of the fabric will be half the diameter of your rosette. We want a fat strip here because layers of lace will top this rosette.
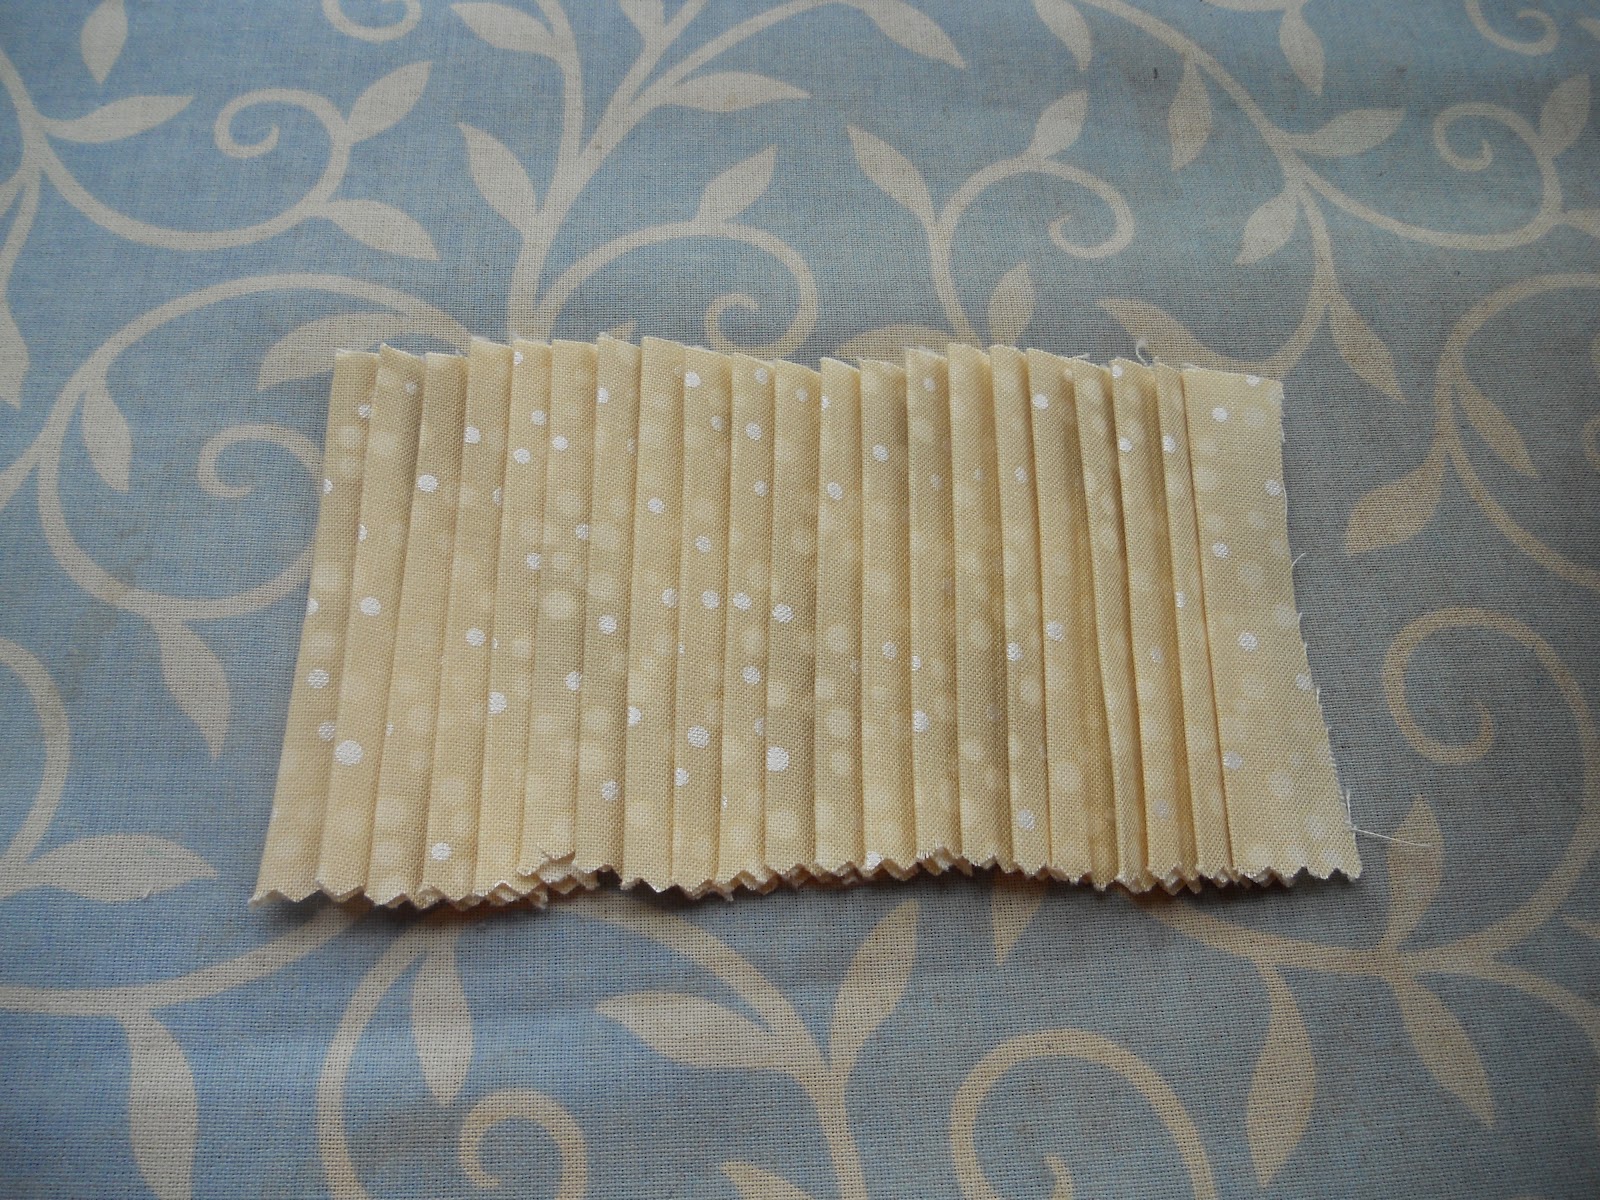
2. Start pleating your fabric on every louver of the pleater. Tuck it inside nice and tight, and try to keep your fabric straight on the pleater (it's easy to get wonky).
3. When done pleating, give it a good spray of starch to wet it, and press it with your iron until dry.
4. Remove the fabric from the pleater, and manage your pleats into shape.
5. With right sides together, Make a running stitch (or use your machine) to form a loop out of your strip.
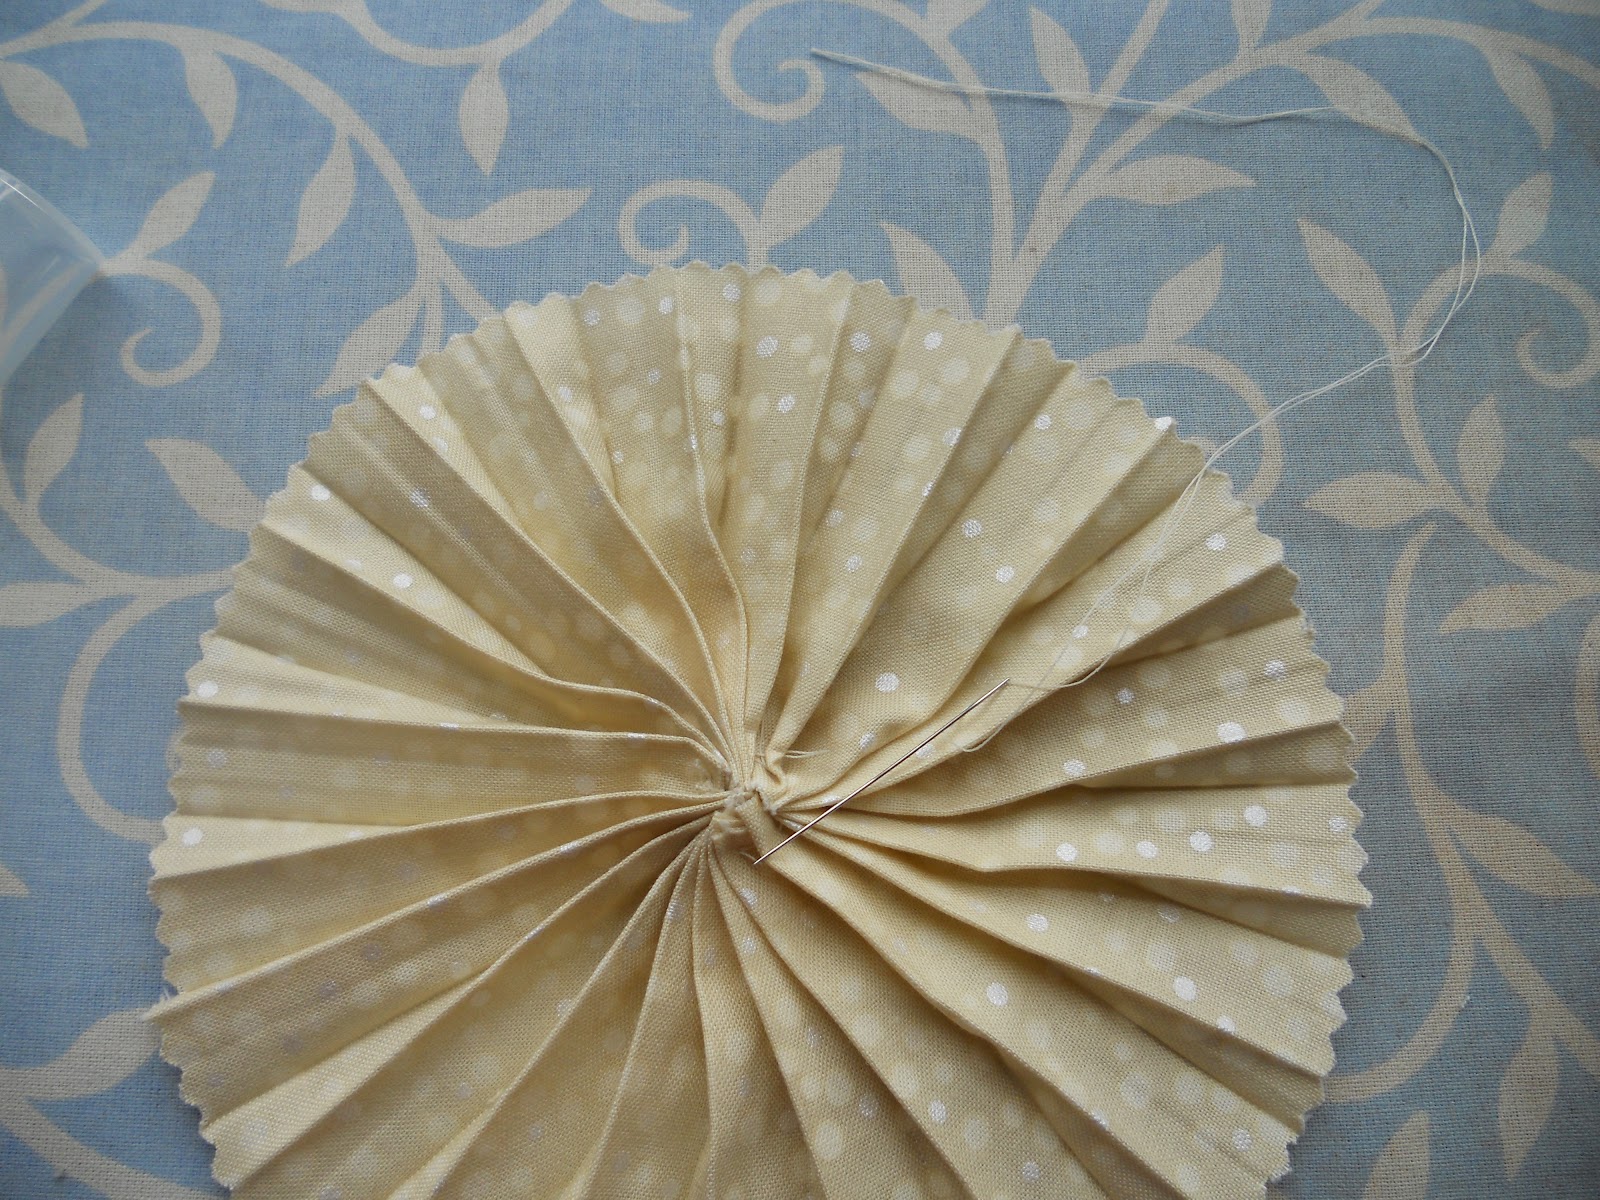
6. Push the fabric into a circle, keeping your pleats intact.
7.. With a needle and thread, pick up the fabric in stitches on the part of the fabric strip that will be the inside of the rosette. Pull tight to form a circle.
Now you can do the rest of your ribbon rosette!
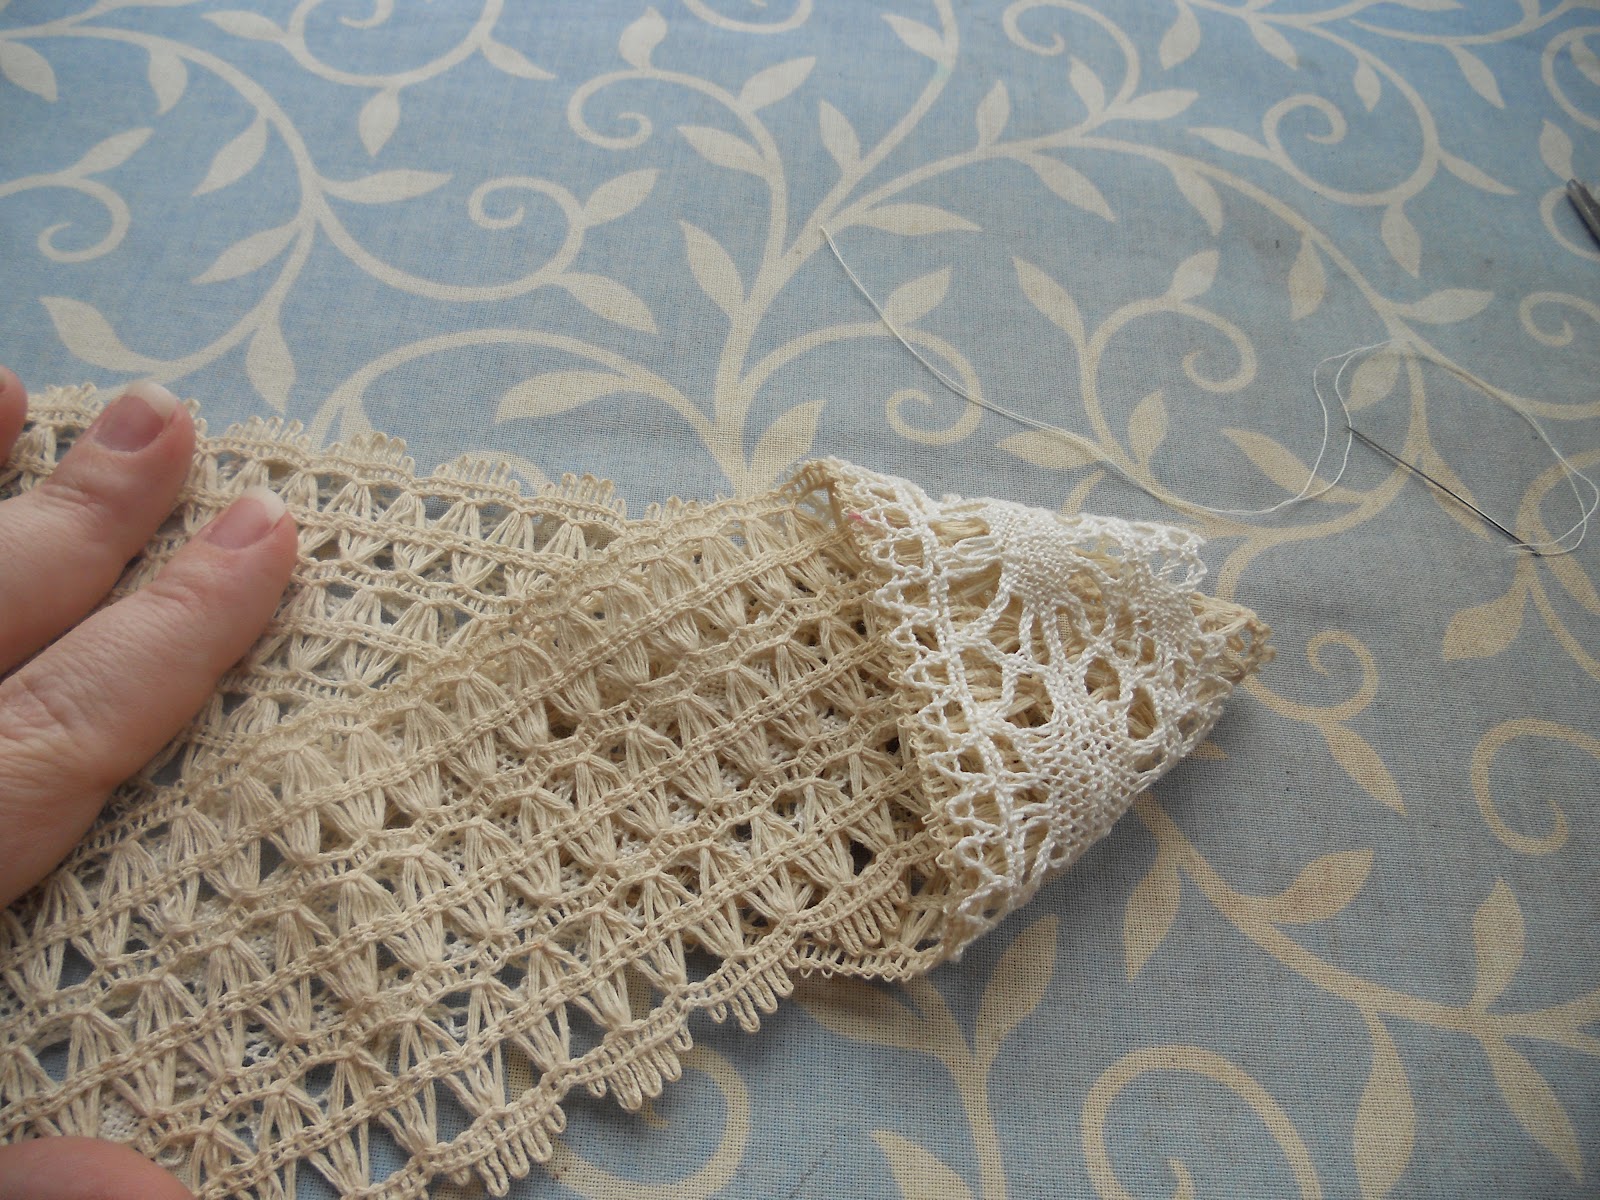
1. Taking a wide width of lace and a thinner one, lay one on top of the other, and then turn so both skinny layers are facing forward. This is a similar shape as the various "hope" ribbons. Sew this ribbon to the back of the fabric pleated rosette.
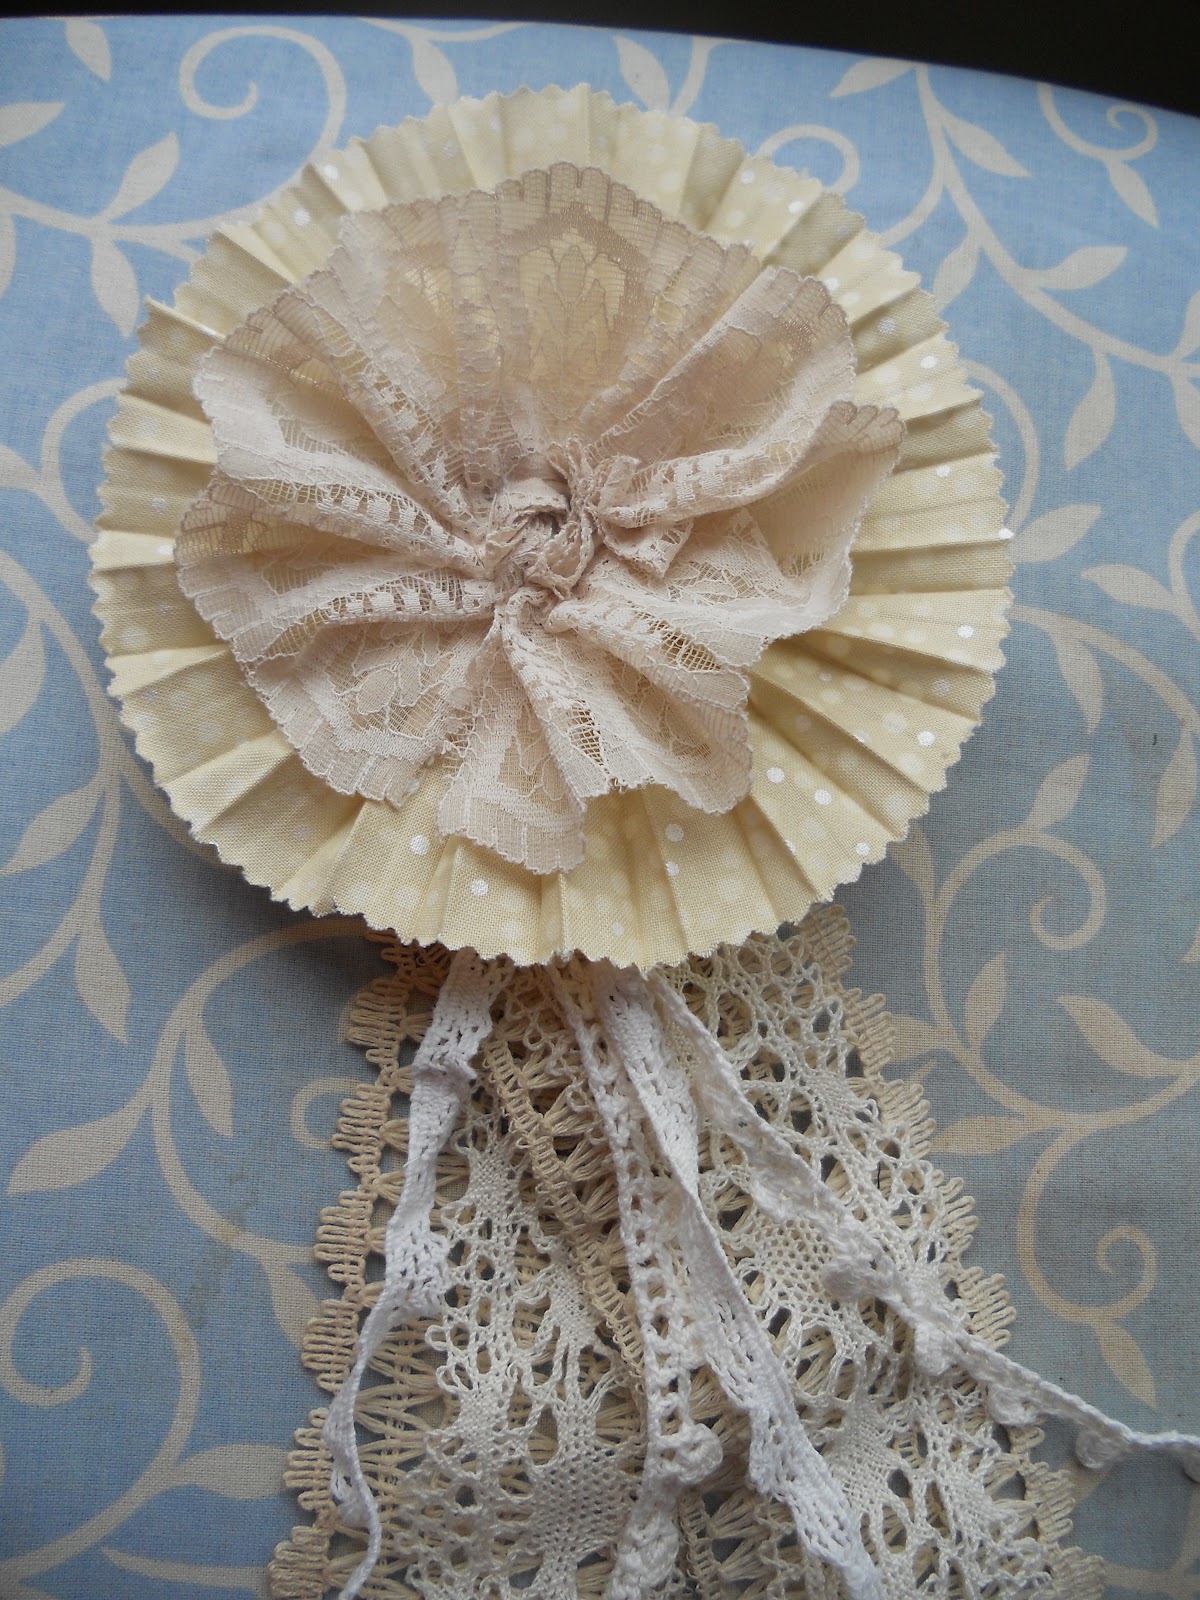
2. Ruffle up another piece of lace into a circle by picking up stitches in a running stitch along one edge, or finding a ribbon that is pre-ruffled. Tack this in the center of the pleated fabric rosette. I used more thin laces to create little tendrils hanging from the center of the rosette.
3. Lastly, you can use a Yo-yo, decorative button, or other embellishment to decorate the center of the ribbon. If you are using it as a prize ribbon, you could make a quilted center with "1st Place" or whatever you like in the middle.
Enjoy your ribbon!
Check back later this week for a chance to win a Perfect Pleater of your very own!!
When I first started collecting vintage hankies, I was introduced to the "hankie safe", a cloth cover in which ladies put their nicely starched and pressed hankies so they didn't get dirty. For a while now, I have had a mess o' hankies in the bottom of my purse. It wasn't seemly to offer one to someone if it came out all manky from the bottom of my bag. I needed a Purse-sized Hankie Safe/Cover.
Here's How I made it:
1. My folded hankie fit nicely on a 6 inch square, so that is where I started. I picked a beautiful hand printed fabric I made with my Gelli Plate, and this is a great project for your Gelli printed fabrics!
2. Cut your cover (printed) fabric to be exactly 6 inches square. Also cut 2 more 6 inch squares from a coordinating fabric. I chose white, but you could match your fabrics too.
3. Fold your coordinating fabrics corner to corner and press. (I am using white, but if you use a print, make sure it's wrong sides together)
4. Lay your newly pressed triangles on top of the printed fabric (right side up).
5. Sew around the entire perimeter with a 1/4 inch seam. I made sure to reinforce the corners.
6. Clip the corners and turn inside out. Clip the inside corners closely.
7. I didn't like how the folded cover made the raw edges stick out, so I used a whip stitch by hand to close up the edges.
8. You can further embellish with a pretty lace trim, or even a button to keep it closed. Enjoy your hankie cover, and now you can offer a hankie to someone without embarrassment, and keep them tidy in your purse.
Want to know how I folded the hankie to fit the cover? Here's how!
1. My hankie is about 12 inches square unfolded. I got this one at Victorian Trading Co.
2. Fold in half, and then half again.
3. Fold one corner to meet the opposite corner.
4. Then fold again for a small compact hankie!
I hope you enjoy the Hankie cover tutorial, and please let me know if you make one!
Since I now have piles and piles of old lace, I thought I would share some fun things to do with old bits and bobs over a series of weekly posts. I'm totally hooked on Downton Abbey and am finding more and more uses for lacey bits around the house.
If you are obsessed with old lace like I am, and wonder what to do with the ever growing piles, I hope you enjoy these!
My first usage is to make an easy lariat style necklace out of it. You could add beads to the ends, or use a scarf slide to hold it together, but here I have just tied a simple knot. This one is made from a wonderful 36 inch long skinny pillowcase edge.
I have a "haunted" Victorian Parlor that is Halloween themed all year 'round, and wanted a way to show off some creepy photos I own. I saw this idea in an antique shop, and they wanted a lot of money for it, but I knew I could make it myself. It's super easy, and with a book from Goodwill for $1.75, it's a bargain!
1. Start with a vintage book whose spine is a little loose, but whose pages are NOT falling out. I liked books with pages that were a bit yellowed, as they fit my decor better. I tried to stay away from the really "stinky" books, unless you like the smell of musty paper. I also chose a book at least 600 pages in length (it's really only 300 physical pages). This is a library book that is marked as "discarded" in 1982, that I got at Goodwill.
2. Starting at the beginning of the book, and begin folding the pages by pushing the outside edge directly into the center of the book and creasing the page. You can remove any photos if you think they will break up the look of your book holder; they are always good for collage projects later!
3. Continue until you have the entire book folded and the book becomes fan shaped. Don't worry if some of the pages stick up higher because your folds are not completely even. I think this adds charm. The whole book took about an hour, which I did while watching TV.
4. Fold the covers together and tape or glue together. Arrange the front of the book to lay flat on your table. If your book covers stick out too far, you may want to cut them down, but I chose to leave mine on.
5. Arrange with photos, letters, leaves, whatever you wish!
Enjoy!
If you have small quilts like I do and want to display them, but don't want to hang them, or perhaps you want to display them on your craft fair table, you need to make one of these!
I loved making these for my stint at Open Studios in Houston this past year. I was able to display stuff vertically on my table, and best of all, I could pack them in my suitcase. Here's how I made them:
1. Start with a store bought angled display stand. I got mine from Office Max. Lay it face down on some batting that is folded so you have a double layer.
2. Draw around the holder on 3 sides. Leave the bottom open. If you use a marker, wait for the marker to dry on the batting before continuing to the next step.
3. Sew just to the outside edge of your drawn line. Then you can cut the excess batting away to about 1/4 to 1/8 of an inch from the sewing line.
4. Turn and gently (GENTLY!) push the corners out on your batting "sleeve". Trim the bottom so it's even with the bottom of your stand.
5. Fit the sleeve over your stand. Check the length of the bottom of your sleeve, and if it's too long, cut the excess away. Fit it over your stand and secure with a piece of clear tape.
Voila! The "grippiness" of the batting should hold your item in place, and if you have a heavy item, you can pin it to the batting surface to keep it in place. You can make this with any size slanted sign holder. Enjoy!
Don't forget that you can make your very own veteran's day poppy by using my tutorial on this page. Salute our veterans! (My other tutorials are on the right, check them out in my sidebar!)
This is a super easy, super fast way to make a cute decorative doorstop! In my house we have these additional bathroom doors that separate the toilet from the rest of the bathroom. These doors never stay all they way open, and when changing the toilet paper roll one day I discovered they make the best door stops! A bit of a fabric remnant makes them pretty and they can match your decor.
You will need:
-Empty toilet paper roll (or a cut down paper towel one)
-a stapler
-fabric remnant that covers the paper tube all the way around and about 4 inches longer on the ends
-needle
-thread (I used embroidery floss)
-cellophane tape or Scotch tape
-(optional) dried beans, pebbles, or other heavy filler.
Step 1. Staple one end closed on the paper tube. Leave the other end open. The stapled end is the one that will go under the door.
Step 2. Take the fabric and wrap it around the tube. Make sure the cut/raw edge end of the fabric gets tucked under and ends up on one of the flat sides of the tube. Use a piece of tape to hold it in place while you sew.
Step 3. Fold the end of the fabric on the stapled side and stitch along that end to close up the fabric. It may slide off the end of the tube, and that's ok, you can just push the tube back in when the edge is sewn up. You can use a decorative stitch, or even take this to your sewing machine and sew the line, I chose not to because I was lazy.
Step 4. If your tube shifted, now is the time to push it back in all the way against the new seam in the bottom.
Step 5. About an inch away from the top of the cardboard, make a running stitch in the fabric. You will be pulling this thread to gather the end of the door stop. If you have heavy doors, now is the time to add the pebbles or beans to weight your doorstop.
Step 6. Pull the thread to gather the fabric and tie a secure knot to close your ruffle. Remove your tape placeholder on the side of the tube.
Step 6. Put your doorstop under your door! The fabric gives a little tooth to your stop, and the tube bends slightly to keep from marring your floors or door.
Enjoy!